")


Are you struggling How to Delete Photos On Mac But Not iCloud? Managing your photos can be a complicated task, if you want to free storage on your Mac but still keep your precious photos memories securely stored with in the iCloud account storage. In this article, we are going to guide you the method of delete photos on your Mac But Not iCloud. so, let’s explore and find out how you’ll be able to easily manage your photos.
Table of Contents
iCloud Photo Library:
iCloud Photo Library is an Apple service that permits you to store and manage all your photos and videos over your Apple devices. I It ensures only that you can have access to your entire photo library, regardless of the device which is being used. This utility is distinctly valuable for those who need to free up space on their devices and have a secure backup of their media.
Setting up iCloud Photo Library:
Before you’ll be able begin moving your photos to iCloud, you would like to guarantee that your iCloud Photo Library is authorized. You must follow the following steps to achieve this:
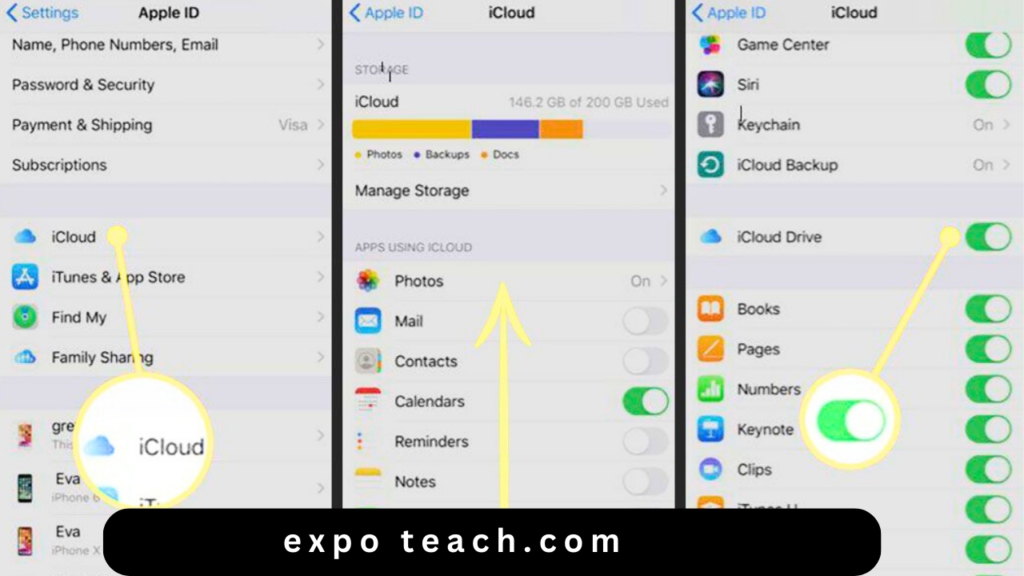
On your Mac:
- Click the Apple menu and select “System Preferences”
- Click on “Apple ID” (your name).
- Choose “iCloud”
- Tick the box next to “Photos”
How To Delete Photos On Mac But Not iCloud
Step 1: Open Photos App on Your Mac
Firstly, to start the method of deleting photos on your Mac without deleting them from iCloud, open the “Photos” app on your Mac. You’ll effectively discover it in the Applications folder or by utilizing Features.
Step 2: Select the Photos You Want to Delete
Once you’ve got opened the Photos app, explore to your photo library and select the photos you need to evacuate from your Mac. You’ll select different photos by holding down the Command key whereas clicking on the specified photos.
Step 3: Move the Photos to As of late Deleted Collection
After selecting the photos, right-click on one of the selected photos and choose “Move” from the settings menu. At this point, select the “Recently Deleted” collection from the drop-down menu.
Step 4: Empty the As of late Deleted Collection on Mac
To guarantee that the photos are deleted from your Mac but not from iCloud, you would like to purge the “As of late Deleted” collection. Select the collection from the sidebar of the Photos app, and after that press on the “Erase All” button found at the best right corner of the app. Affirm the erasure by clicking “Delete” within the pop-up window.

Keeping Your Photos on iCloud
Presently that you just have effectively deleted the selected photos from your Mac, it’s vital to create sure they stay securely stored in your iCloud.
Take after these steps to ensure your photos are securely backed up:
Step 1: Open iCloud Settings on Your Mac
Click on the Apple menu in the upper left corner of your screen, and you can select System Preferences.” You can select the “iCloud” tab at this point by tapping on Apple ID.
Step 2: Enable iCloud Photos
In the iCloud settings, make sure that the “iCloud Photos” option is enabled. This will automatically adjust your photos between your Mac and iCloud, guaranteeing simply have a backup of your valuable memories.
Step 3: Check iCloud Storage
To ensure that your photos are not taking up pointless space on your Mac, check your iCloud storage. Go back to the Apple ID settings and tap on “Manage” another to the iCloud storage bar. Here, you’ll see and manage the storage space utilized by your photos and other records.
FAQs
How do I exclude Photos from iCloud on my Mac?
To exclude Photos from iCloud on your Mac, open “System Preferences,” select “Apple ID,” then click “iCloud.” Uncheck the “Photos” option. This stops iCloud from syncing photos with your Mac.
How do I keep Photos on iCloud but not on Mac?
If you want to keep Photos on iCloud but not on your Mac, go to “Photos” in “System Preferences” and uncheck “Download Originals to this Mac.” Your photos will remain in iCloud but won’t take up space on your Mac.
How do I unlink Photos from my Mac?
To unlink Photos from your Mac, open “Photos,” click “Photos” in the top menu, then select “Preferences.” Under the “General” tab, uncheck “Copy items to the Photos library.” This will disconnect Photos from your Mac’s library.
How do I reduce photo storage on my Mac?
To reduce photo storage on your Mac, open “Photos,” click “Photos” in the top menu, then choose “Preferences.” Under the “General” tab, select “Optimize Mac Storage.” This will store smaller versions of photos on your Mac, saving space.
Conclusion
Managing your photos on Mac while keeping them securely stored in iCloud doesn’t have to be a complicated task anymore. By following the simple steps mentioned above, you can easily Delete Photos On Mac But Not iCloud. Remember to always check your iCloud settings and storage to keep your photos backed up and organized.


2 thoughts on “How To Delete Photos On Mac But Not iCloud in 3 Easy Steps”